This post may contain affiliate links. Please read our disclosure policy.
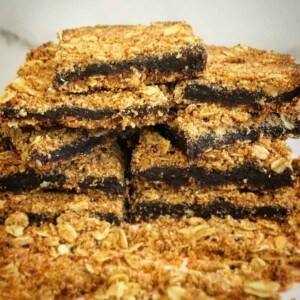
These healthy date oat bars are soft, naturally sweet, and made with wholesome pantry ingredients like oats, date paste, and whole wheat flour. They’re the perfect healthy snack, breakfast bar, or dessert when you want something sweet without refined ingredients. Made with butter or coconut oil and an optional egg, this flexible recipe can easily be adapted to suit your dietary needs.

These homemade date oat bars are naturally sweetened with date paste, which adds rich caramel-like flavor, moisture, and nutrition. The combination of a firm oat crust and a soft date filling creates the perfect balance of chewy and tender textures. Best of all, this recipe requires no milk, making it ideal for dairy-free diets when using coconut oil.
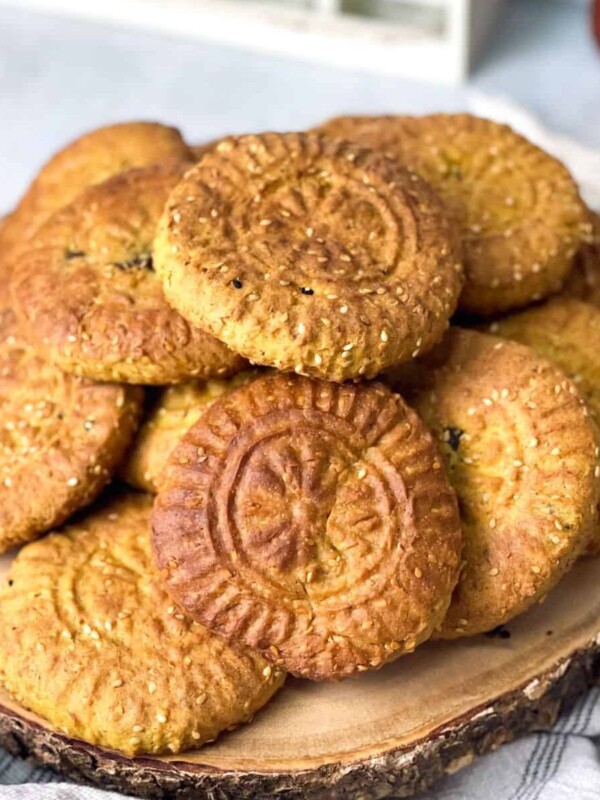
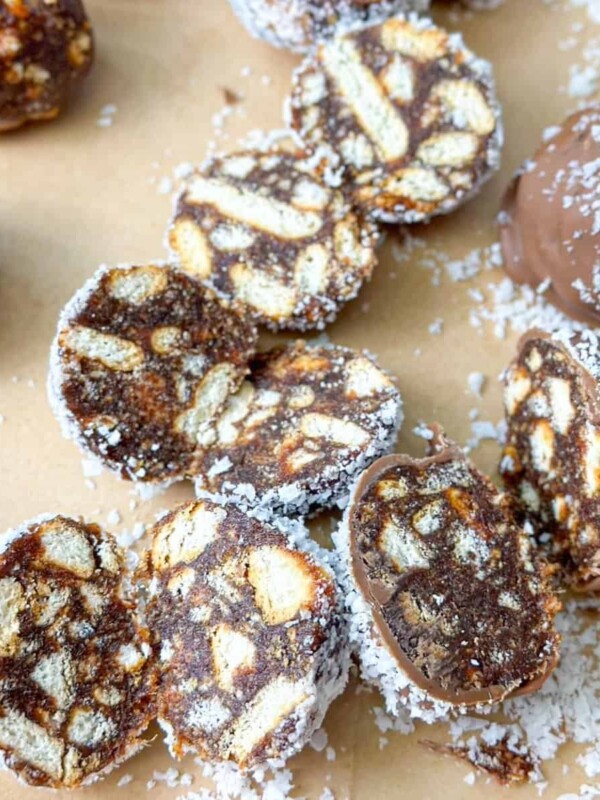
Whether you’re looking for a healthy snack for kids, a meal prep breakfast, or an energy-boosting afternoon treat, these oatmeal date bars are a delicious and satisfying option. They store beautifully, travel well, and are perfect for making ahead for busy weeks. You will also love trying Date Stuffed Brioche Bread, Avocado Date Pudding, Tasty Date and Biscuit Balls, and Banana Date Protein Shake.
Recipe Overview
Flavor Profile: Naturally sweet and rich with deep caramel-like date flavor balanced by hearty, nutty oats
Texture: Soft, chewy, and tender with a sturdy oat crust and smooth, thick date filling
Method: A simple press-and-bake bar recipe with a pre-baked oat base, layered date paste, and crumbly oat topping
Skill Level: Beginner-friendly
Occasion: Perfect for healthy snacks, breakfast on the go, lunchboxes, meal prep, Ramadan treats, or everyday desserts
Why You’ll Love This Recipe
Naturally sweet and healthier: These date oat bars are sweetened with date paste, offering natural sweetness and added nutrition without relying entirely on refined sugar.
Flexible for different diets: Made with butter or coconut oil and an optional egg, this recipe can easily be adapted to dairy-free, egg-free, or vegetarian lifestyles.
Perfect for meal prep and snacking: These bars store well, travel easily, and make a convenient grab-and-go breakfast, snack, or energy boost during busy days.
Simple pantry ingredients: Made with oats, flour, and date paste, this recipe uses affordable, everyday ingredients you likely already have at home.
Soft, chewy, and satisfying: The combination of a firm oat crust and smooth date filling creates a comforting texture that both kids and adults love.
Freezer-friendly and make-ahead: These bars freeze beautifully, making them ideal for preparing in advance and enjoying anytime.
Ingredients
- Butter or coconut oil
- Brown sugar
- Large egg, optional
- Flour
- Old-fashioned oats
- Baking soda
- Salt
- Date paste
How to Make Healthy Date Oat Bars
Preheat oven to 375°F. Line a 9×13 pan with parchment paper.
Cream butter (or coconut oil) with sugar until combined. Add egg if using and mix until incorporated. (If skipping egg, no substitution needed.)
Stir in flour, baking soda, and salt.
Fold in oats. The mixture will be crumbly but should hold when pressed in your hand.
Press half the mixture very firmly into the pan using the bottom of a measuring cup.
Bake the bottom crust for 8–10 minutes to set.
Spread the date paste evenly over the warm crust. Sprinkle the remaining oat mixture on top and gently press.
Bake 20–25 minutes, until lightly golden. Cool completely before cutting. For cleaner slices, chill 30 minutes first.
Serving Suggestions
These healthy date oat bars are incredibly versatile, as you can enjoy them in many ways depending on the occasion.
Enjoy as a healthy snack: These bars are perfect as a grab-and-go snack between meals. Pair them with Turkish coffee, tea, Golden Milk Banana Date Coffee Latte, or Blueberry Date Smoothie for a satisfying energy boost.
Serve for breakfast: Date oat bars make a quick and nourishing breakfast, especially on busy mornings. Enjoy them with yogurt and fresh fruit for a more complete meal.
Add to lunchboxes: Their sturdy texture makes them ideal for kids’ lunchboxes or work lunches since they travel well and don’t crumble easily.
Serve as a healthier dessert: Warm a bar slightly and drizzle it with honey, a spoonful of yogurt, or a sprinkle of nuts for a simple, wholesome dessert.
Perfect for Ramadan and meal prep: These bars provide lasting energy, making them excellent for suhoor, iftar, or weekly meal prep.
Variations and Substitutes
Dairy-free: Use coconut oil instead of butter for a completely dairy-free version.
Egg-free: The egg is optional and can be skipped without substitution. Just press the mixture firmly so the bars hold together.
Flour alternative: Substitute whole wheat flour for all-purpose flour to increase fiber and make the bars more wholesome.
Nuts for crunch: Mix chopped walnuts, almonds, or pecans into the oat mixture for added texture and nutrition.
Warm spices: Enhance the flavor by adding cinnamon, cardamom, or nutmeg to the oat mixture.
Chocolate chips: For a more indulgent treat, sprinkle chocolate chips over the date layer before adding the top crust.
Homemade date paste: It works perfectly and allows you to control the sweetness and texture.
Vegan version: Use coconut oil and skip the egg to create a fully vegan version.
Recipe Tips
Press the crust firmly: Use the bottom of a measuring cup or glass to press the oat mixture tightly into the pan. This helps create a sturdy base that holds together after baking.
Pre-bake the bottom layer: Baking the base for 8–10 minutes before adding the date paste helps prevent sogginess and creates a more defined layered structure.
Spread the date paste evenly: If your date paste is thick, warm it slightly so it spreads easily without pulling up the crust.
Choose butter or coconut oil based on texture: Butter makes firmer, sturdier bars, while coconut oil creates softer bars that are best chilled before slicing.
Use the egg based on your preferred structure: The egg helps the bars hold together and slice cleanly. Without it, the bars are softer but still hold if pressed firmly.
Let the bars cool completely before cutting: This is essential for clean slices. For best results, chill the bars for 30 minutes before slicing.
Line the pan with parchment paper: This makes removal easier and helps maintain neat edges.
Storage Tips
Room temperature: Store date oat bars in an airtight container at room temperature for up to 3 days.
Refrigerator: For longer storage or firmer texture, refrigerate for up to 1 week. Chilling is especially helpful if using coconut oil, as it helps the bars firm up.
Freezer: These bars freeze beautifully. Store in a freezer-safe container with parchment between layers for up to 3 months. Thaw at room temperature or in the refrigerator before serving.
For best texture: Keep bars in a single layer or separate layers with parchment paper to prevent sticking.
Frequently Asked Questions
Make sure to press the crust firmly into the pan, bake the bottom layer before adding the filling, and allow the bars to cool completely before cutting. Chilling them also helps create cleaner slices.
Absolutely. Chopped walnuts, almonds, pecans, or even shredded coconut make great additions and add extra texture and flavor.
Yes. The egg is optional and mainly helps create cleaner, sturdier bars. Without the egg, the bars will have a softer, more tender texture but will still hold together well if the mixture is pressed firmly.
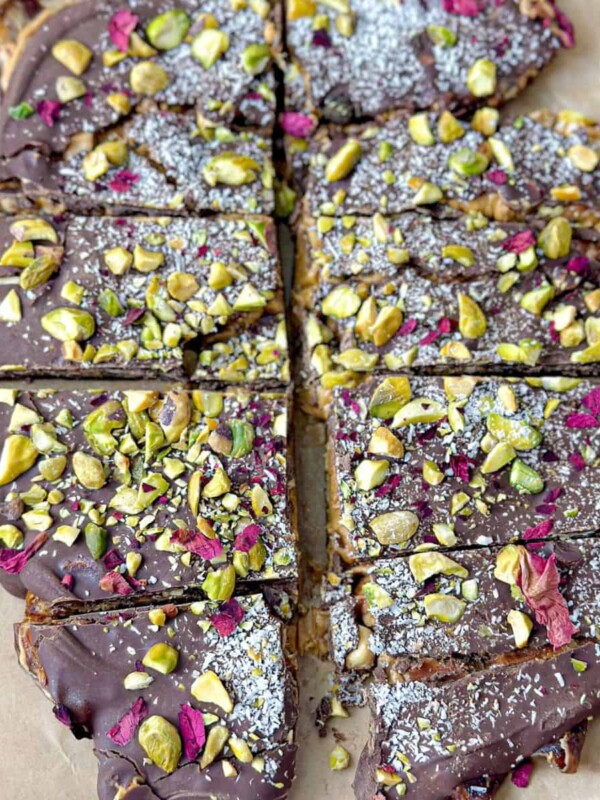
More Delicious Date Treats
Healthy Oatmeal Date Bars
Ingredients
- 1 cup Butter (softened), coconut oil (melted and slightly cooled)
- 1 cup Brown sugar, or coconut sugar
- 1 large Egg, optional, for stronger binding
- 1¼ cups Flour, whole wheat or all-purpose
- 1½ cups Old fashion oats
- ½ teaspoon Baking soda
- ½ teaspoon Salt
- 1 13 ounces package Date paste
Instructions
- Preheat oven to 375°F. Line a 9×13 pan with parchment paper.
- Cream butter (or coconut oil) with sugar until combined. Add egg if using and mix until incorporated. (If skipping egg, no substitution needed.)
- Stir in flour, baking soda, and salt.
- Fold in oats. The mixture will be crumbly but should hold when pressed in your hand.
- Press half the mixture very firmly into the pan using the bottom of a measuring cup.
- Bake the bottom crust for 8–10 minutes to set.
- Spread the date paste evenly over the warm crust. Sprinkle the remaining oat mixture on top and gently press.
- Bake 20–25 minutes, until lightly golden. Cool completely before cutting. For cleaner slices, chill 30 minutes first.


Would love to try this – How many dates are needed for mixture, or how much date paste do you use?
Hi! Sorry about that. I just fixed the recipe card and added that in there. 1 (13oz) date paste packet! 🙂
Thank you!
My pleasure!
Made my house smell great and the taste was incredibly delicious. Took some to my colleagues and they couldn’t believe I made them. Thank you
approx how many cups of dates to make the required date paste? thanks!!
Hi! About 1 1/2 cups of date paste. Add a little cooking spray oil on your hands and flatten out the date paste to place in the center. You can also purchase date paste on Amazon if you choose 🙂