This post may contain affiliate links. Please read our disclosure policy.
Your kids, your husband, and yourself just love Mac and Cheese. Hey, let’s make some tasty changes to your table routine! The Taco Mac and Cheese is the perfect duo! It is so rich and cheesy that it melts in your mouth.
My Taco Mac and Cheese is just irresistible. It is so easy too! It needs less than 20 minutes. So, it is time to prepare the taco seasoning, elbow pasta, shredded cheddar, and ground meat. Follow the steps to make a creamy, smooth, and cheesy dish. It will certainly satisfy your cheesy craving!
Creamy Smooth Taco Mac and Cheese
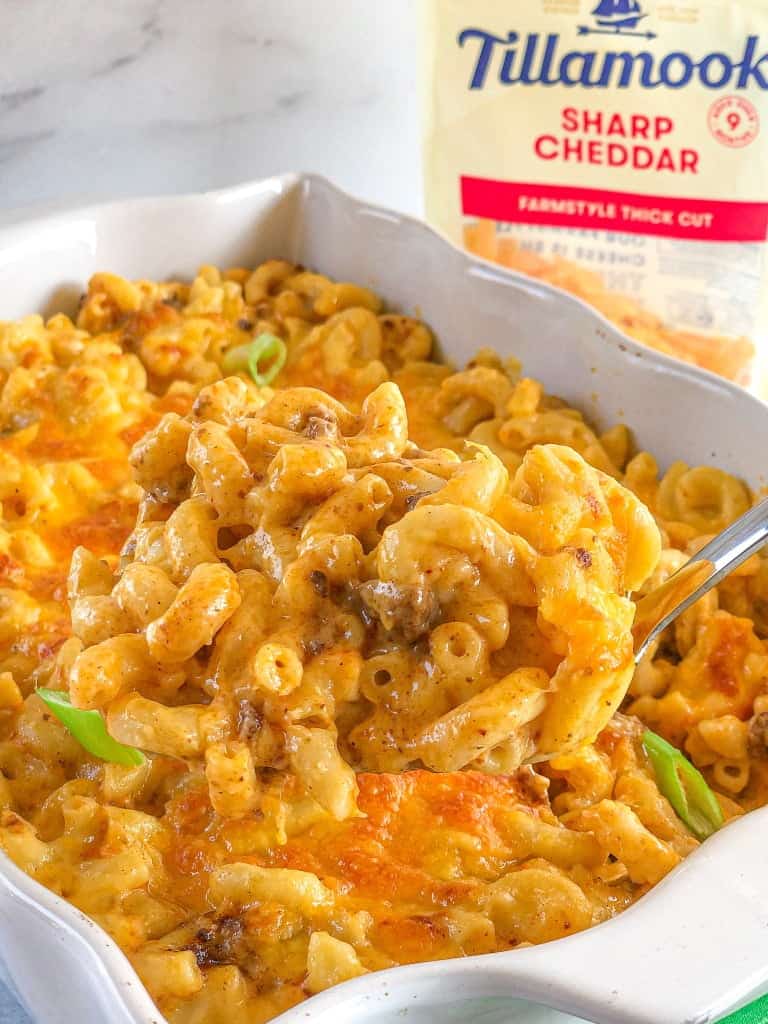
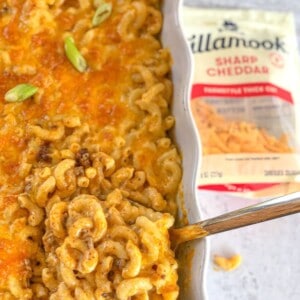
The taco mac and cheese was so delicious. My family and I were talking about this for days after we had it for dinner. I took it up a notch by using @Tillamook Sharp Cheddar Slices. It adds a savory bold taste since it’s been aged for over 9 months to get the right sharpness.
Tillamook Shreds are thicker than other types. So, you get more cheese in one slice and a more bold flavor in every bite. You can find them at your local Winn-Dixie and BiLo. Use them to remake this recipe and upgrade all your favorite recipes that call for cheese.
Does the Cheese Mature? Well, Cheddar Does!
Few of us think of the origin of cheese. Why is there a total variety of something that is based on milk? Let’s take a look at the cheddar!
History of Cheddar
If you think that the one who invented cheddar was a genius, you are wrong! Cheddar started in the 12th century in the Cheddar village in Somerset, England. Back then, farmers used to cool the cow milk in caves during hot days.
The myth says that a maid has forgotten a pail of milk in the cave. It was too long before she remembered. When she came back, she found out that the cowmilk had hardened and got the golden shape of tastiness. What a delicious mistake!
Color and Taste
So, cheddar is a semi-hard natural cheese. It can have white, yellow or orange texture. Young cheddar starts with a mild taste. When they leave it for more time, it gets more sharp as it matures. Cheddar may age up to 16 months.
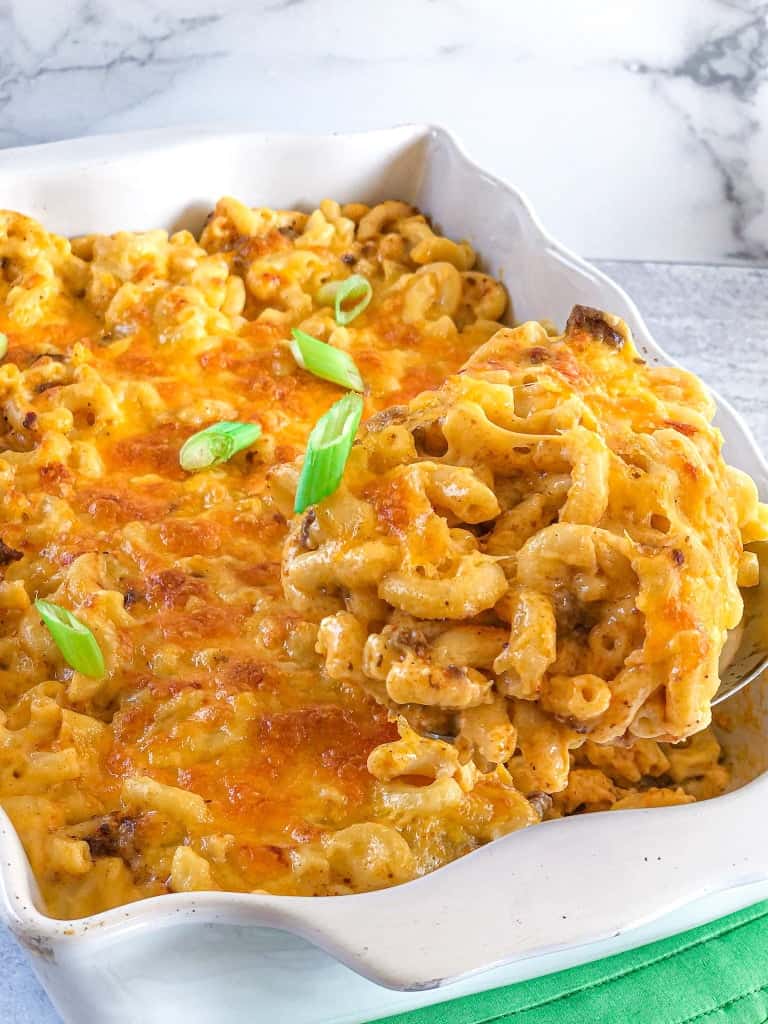
Creamy Texture, Cheesy Taste
Please Everyone with Taco Mac and Cheese
Please the Mexican Night
Who can say No for a great Mexican night? So, you can make it a special one with the taco mac and cheese. If you want to make it even more Mexican, you can add some chili sauce. You can also garnish it with jalapeno pepper. Let’s spicy up the night!
In fact, there are plenty of fun recipes to try for an all-out Mexican night. The taco mac and cheese is definitely one that your family will be asking you to remake. You can also check out my Bean Taco Pie recipe for another fun taco recipe! For an authentic Mexican night, you need lots of fun dips and a yummy nacho spread!!
Please your Kids Tummy
It is not a surprise that kids love mac and cheese and tacos. So, you can imagine the smile on their face when you combine their two favorites in one dish. What a delight!
Please your Cheesy Craving
Are you craving for cheese? The taco mac and cheese will do the job. Indeed, the combination of mac and cheese with the ground meat with taco seasoning is mouthwatering. You will get a tummy full of yummy cheesy dish.
In fact, the taco mac and cheese will please everyone. It has what each one may ask for. The combination of pasta, beef, cheese, and taco will satisfy your dear ones.
Easy Cheesy Dish! Let’s Give it a Try!
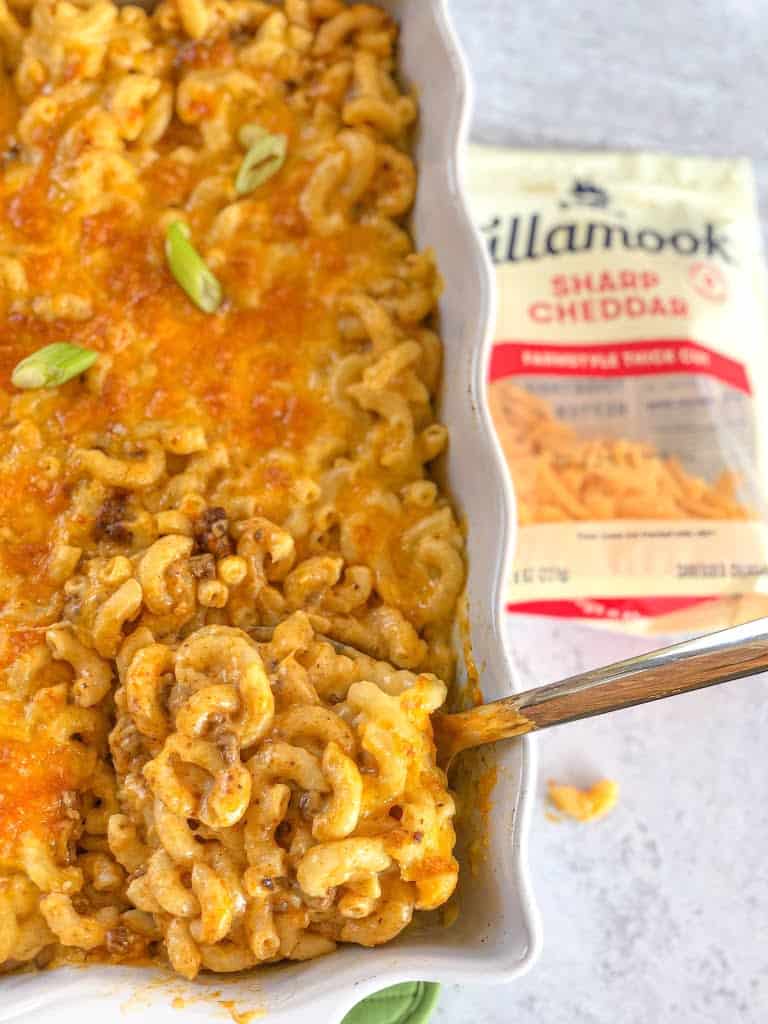
Tips and Tricks
The taco mac and cheese is very easy. But, there is milk in the ingredients. You have to pay attention since it boils fast and burns easily. Burnt milk may ruin the flavors of the recipe.
For instance, elbow pasta is the most common in the taco mac and cheese recipe. But if you do not have it, you should not worry. A great thing about this recipe is that you can use any type of pasta you like. You might use farfalle, rotini, noodles, whole wheat pasta, chickpea pasta, etc.
If one of your guests is vegetarian, you should not be anxious. You can make the suitable variation. So, you can skip the ground beef. Simply, replace it with a can of soybeans.
If you or one of your guests has a gluten free diet, you can do some adjustments. You can simply choose gluten-free pasta and gluten free flour. You can keep everyone satisfied with this recipe.
Frequently Asked Questions
If you are a not a fan of cheddar, you can substitute it with mozzarella. Yet, you will not get the intended flavors.
Surely, you do not want to waste any of this dish. So, you can keep the leftovers in a container in the fridge for no more than two days since it has dairy products. However, you may need to add two spoons of milk when it is reheated to get its creamy texture back.
It is a great idea to add some vegetables like broccoli. You can also added some minced garlic and/or sliced onions . But, you have to cook them in butter before adding the flour. You may need an extra spoon of butter to do so.
Recipes You Have To Try
What’s Not To Love About Mac and Cheese with Taco
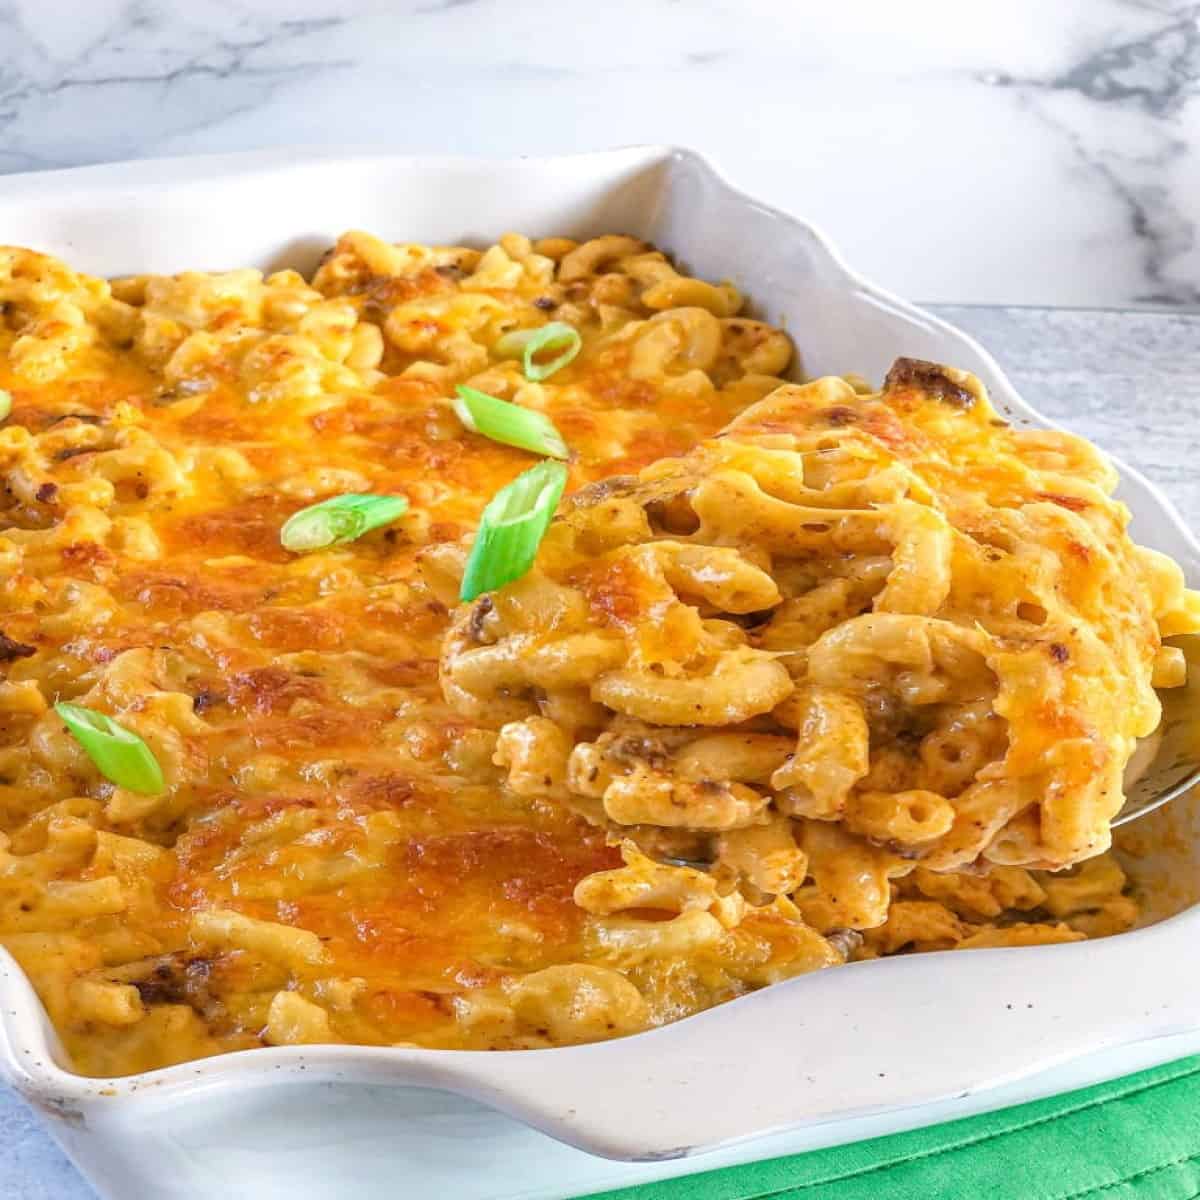
Get Ready!
It is a no-fail recipe. Grab the ingredients and get ready!
Ingredients
- Elbow pasta
- Ground Beef
- Sharp cheddar shredded cheese
- Olive oil
- Butter
- Flour
- Water
- Milk
- Taco seasoning
- Salt
Steps to Prep
First, you have drain the elbow noodles after you follow the package instructions.
In a medium skillet, heat 3 tablespoons olive oil to sauté’ the ground meat for 6-7 minutes.
Next, you have to add the taco seasoning and water. Now, set them aside.
Then, you can use the pot where you cooked the elbow noodles to whisk butter and flour on medium heat until thickened.
After that, you add the milk and salt while you whisk on high heat until the sauce is thick.
Now, you add all the @Tillamook cheese to the sauce. You keep mixing until it melts and become cheesy.
Finally, add in the drained elbow noodles, the taco seasoned meat to the pot and mix them well.
Transfer the mix into a baking dish. To make it more cheesy, it is possible to sprinkle some cheese on top to garnish.
Broil on high heat for 3-4 minutes or until golden brown.
Serve immediately and enjoy every bite with your dear ones!
Taco Mac and Cheese
Ingredients
- 1 lb elbow pasta
- 1 ½ lb ground meat
- 3 tablespoons olive oil
- 1 packet taco seasoning
- ½ cup water
- 2 8 oz sharp cheddar shredded cheese
- 3 cups milk
- ½ stick butter
- ¼ cup flour
- ½ tablespoon salt
Instructions
- Drain the elbow noodles after cooking them following package instructions.
- Heat 3 tablespoons of olive oil in a medium skillet to sauté the ground meat for 6-7 minutes.
- Add in the taco seasoning and 1/2 cup water, then set aside.
- Whisk the butter and flour on medium heat until thickened in the same pot where you cooked the noodles. Then add 3 cups milk, 1/2 tablespoon salt. Whisk on high heat until the sauce is thick.
- Add all the @Tillamook cheese to the sauce and mix until melted and cheesy.
- Add in the drained elbow noodles, the taco seasoned meat to the pot.
- Mix well, then transfer to a serving dish. Optional, to make it cheesier place in a baking dish then top with more shredded cheese. Bake at 350°F for about 7 minutes then broil on low heat for 3-5 minutes or until golden.
Notes
- The taco mac and cheese is very easy. But, there is milk in the ingredients. So, you have to pay attention since it boils fast and burns easily. Burnt milk may ruin the flavors of the recipe.
- For instance, elbow pasta is the most common in the taco mac and cheese recipe. But if you do not have it, you should not worry. A great thing about this recipe is that you can use any type of pasta you like. You might use farfalle, rotini, noodles, whole wheat pasta, chickpea pasta, etc.
- If one of your guests is vegetarian, you should not be anxious. You can make the suitable variation. So, you can skip the ground beef. Simply, replace it with a can of soybeans.
- If you or one of your guests has a gluten free diet, you can do some adjustments. You can simply choose gluten-free pasta and gluten free flour. You can keep everyone satisfied with this recipe.

Excellent recipe. So easy to make and mouth watering. Thanks!!
Thank you!! Happy you enjoyed it 🙂
I followed the recipe exactly, and it turned out perfectly creamy and tasty!
Thank you
Hey there Bonnie! Happy to hear this!!
I am confused. At the last step, you transfer to a baking dish. Do you bake it? If so what temperature and how long. If not, why are you putting it in a baking dish? Why not transfer to a serving dish.
Hi Andrea! Good point! You bake only if you want to add more cheese on the top. Please check the last step again 🙂