This post may contain affiliate links. Please read our disclosure policy.
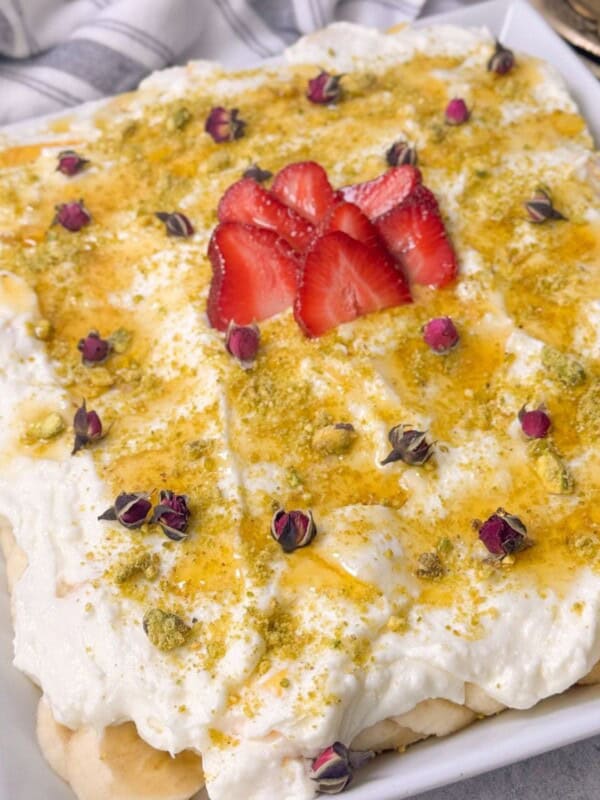
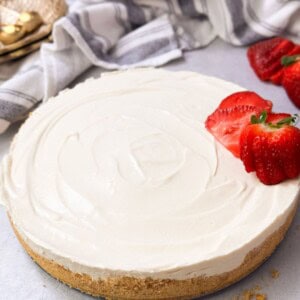
This no-bake cheesecake is rich, creamy, and perfectly sweet, with zero oven time! It’s quick to prep, easy to customize with your favorite toppings, and guaranteed to impress every time. With a buttery graham cracker crust and a silky-smooth filling that’s light yet indulgent, this is the kind of dessert that earns compliments every time. The texture strikes that perfect balance between dense and fluffy, and it carries just a hint of tang from the lemon and cream cheese to keep each bite interesting.

I love making this cheesecake for gatherings, especially when I don’t want to deal with the oven. It sets up beautifully in the fridge, can be made ahead of time, and works with just about any topping you can imagine. From glossy fruit jams to a drizzle of chocolate or a handful of fresh berries, there’s no wrong way to dress it up. If you’ve ever been hesitant to make cheesecake from scratch, my recipe and tips will make you a believer. A few other cheesecake twists you will love to try are: Cinnamon and S’mores Cheesecake Trifle, Brioche Strawberry Cheesecake French Toast, and Strawberry Cheesecake Roll.
Table of Contents
Recipe Overview
Cuisine: American
Cooking Method: No-Bake
Skill Required: Beginner–friendly, with a few tips for best texture and clean slicing
Signature Taste: Creamy, lightly tangy cheesecake filling with a buttery graham cracker crust
Diet Info: Vegetarian; can be adapted with alternative sweeteners or gluten-free crust options

Ingredients
For the Crust
Graham Cracker Crumbs: Adds a crispy, buttery texture to the crust with a slight sweetness.
Brown Sugar or Honey: Provides sweetness and moisture, enhancing the flavor of the crust.
Unsalted Butter: Adds richness and helps bind the crust together.
For the Cheesecake Filling
Cream Cheese: Gives a smooth, creamy texture and tangy flavor to the filling. Bring it to room temperature for smooth, lump-free blending.
Heavy Whipping Cream: Provides volume and a rich, fluffy texture to the cheesecake.
Powdered Sugar or Honey: Sweetens the filling without affecting its smooth texture.
Lemon Juice: Just a splash enhances the tang of the cream cheese and balances out the richness.
Vanilla Extract: Enhances the overall flavor with a warm, aromatic note.

How to Make No-Bake Cheesecake
Prepare the Crust
In a bowl, mix graham cracker crumbs, brown sugar (or honey), and melted butter until well combined.
Press the mixture firmly into the bottom and slightly up the sides of an 8 or 9-inch springform pan. Use a flat-bottomed cup to compact the crust.
Freeze for 15 minutes while you make the filling. (If making ahead, cover and refrigerate for up to 3 days.)
Make the Cheesecake Filling
In a large bowl, beat cream cheese and powdered sugar (or honey) with an electric mixer until smooth (1-2 minutes).
Add heavy whipping cream, lemon juice, and vanilla. Beat for another 3 minutes on medium speed until the mixture thickens and forms stiff peaks.
Note that I whipped both the cream cheese and the heavy whipping cream in one bowl. You can whip them in separate bowls, and then fold the heavy cream in with the whipped cream cheese for a fluffier cheesecake.
Pour the filling into the prepared crust and smooth the top. Cover and refrigerate for at least 6 hours or overnight for best results.
For the toppings, you can add fresh fruit, chocolate ganache, or a fruit sauce (see below).
Easy Jam Cheesecake Topping
You can turn any jarred jam into a smooth, spreadable topping! All you have to do is to follow these simple steps:
Heat 1 cup of jam in a small saucepan over medium heat. Stir occasionally.
Thin it out with 1-2 tablespoons of water or lemon juice for a tangy boost.
Optional: Add 1 tablespoon of sugar if you prefer a sweeter topping.
Strain (if needed) to remove fruit pieces for a smoother finish.
Cool completely before spreading on the cheesecake.
Chill the cheesecake for at least 1 hour after adding the topping to let it set.
Tip: For a thicker topping, mix 1 teaspoon of cornstarch with 1 tablespoon of water and stir into the jam while heating.

Serving Suggestions
For clean, professional slices, use a sharp knife dipped in water and wipe between each cut. Serve chilled straight from the fridge. This cheesecake holds its shape beautifully when properly set.
You can slice it as a whole or make individual portions if made in muffin tins.
Top your cheesecake with seasonal berries, chocolate ganache, or a drizzle of fruit sauce.
Variations and Substitutes
Cookie Crust: Swap graham crackers for crushed Oreos, digestive biscuits, or gingersnaps.
Dairy-Free Alternatives: Use vegan cream cheese and coconut whipped cream to make it entirely dairy-free.
Flavor Variations: Add lemon zest, espresso powder, or cocoa to the filling for a twist.
Recipe Tips
Thicker Crust Hack: Add ½ cup more graham cracker crumbs and 3 tablespoons of butter to make a thicker, crunchier crust.
Shortcut Crust Option: Don’t feel like making your own? A store-bought graham cracker crust works just as well.
Use Alternative Pans: For a classic look, swap the springform pan with a pie dish. For individual portions, press the crust into muffin tins lined with cupcake liners.
Chill Overnight: Give the cheesecake ample time to set (at least 6 hours, preferably overnight) for clean, neat slices.
Clean Slices Every Time: Use a sharp knife and wipe it clean between each slice for neat, bakery-style presentation.
Storage Tips
Refrigerate: Keep your no-bake cheesecake covered in the fridge for up to 5 days. Use plastic wrap or an airtight container to prevent it from absorbing fridge odors.
Freeze: Cheesecake freezes well! Wrap the entire cheesecake (or slices) tightly in plastic wrap, then aluminum foil. Freeze for up to 3 months. Thaw overnight in the refrigerator before serving. Do not thaw at room temperature, as the texture may soften too much.
Tip: For the cleanest slices post-freezing, slice it while still slightly frozen.

Frequently Asked Questions
Yes! No-bake cheesecake is perfect for prepping ahead. Chill it overnight for the best texture and flavor.
It likely needs more chilling time or was under-whipped. Be sure to beat the filling until stiff peaks form before chilling.
Absolutely. It’s a great time-saver and works just as well.
Use softened cream cheese and beat it well before adding other ingredients.
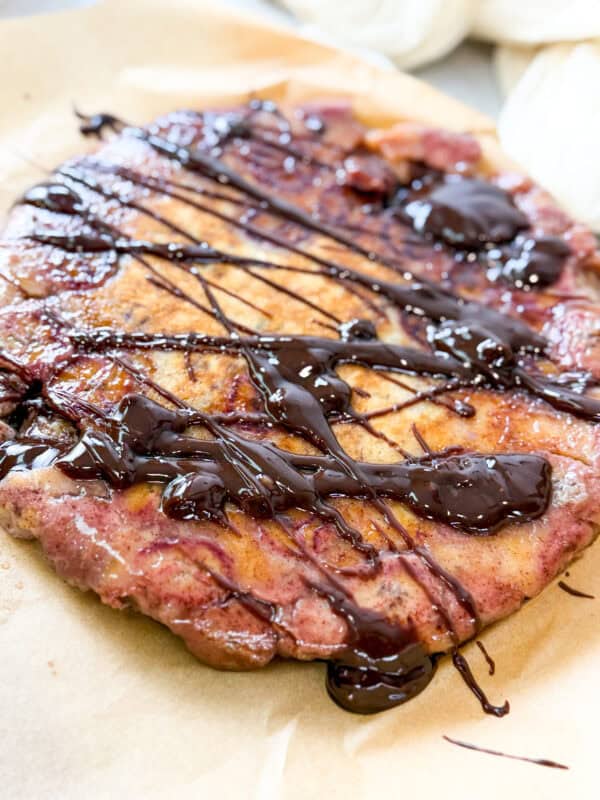
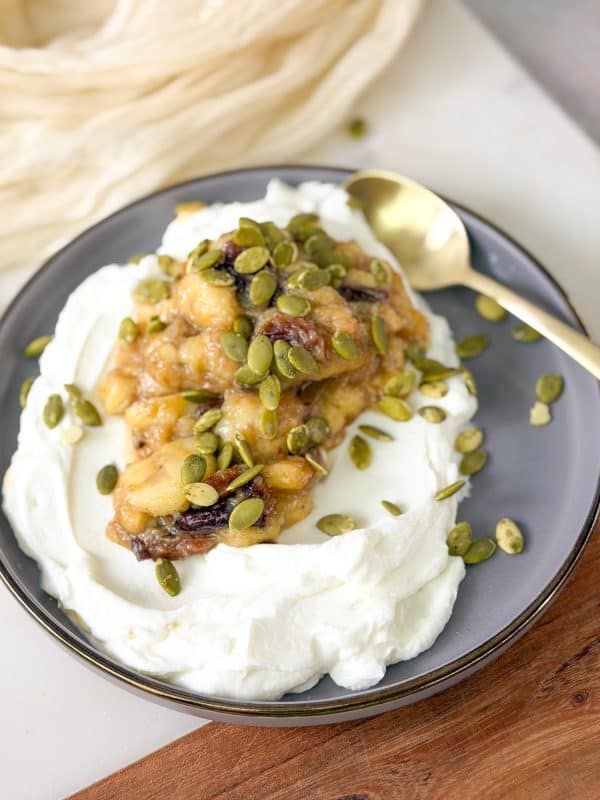
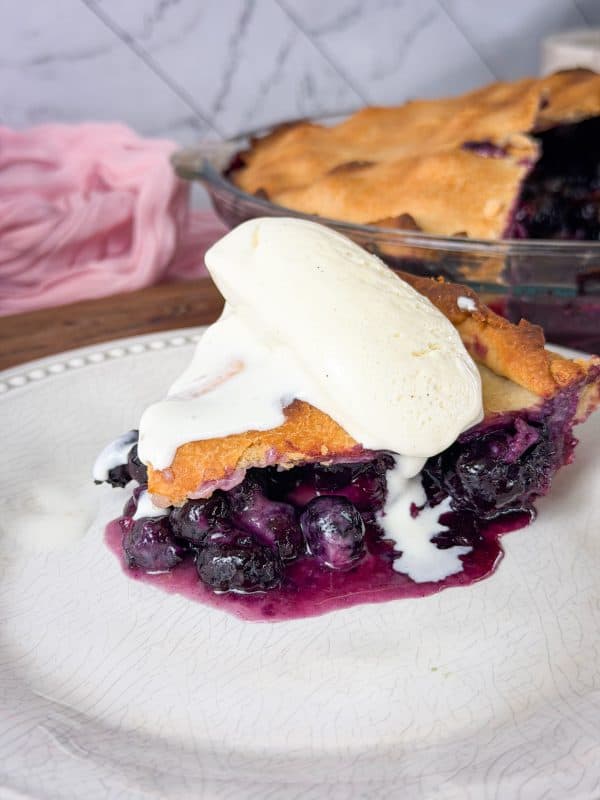
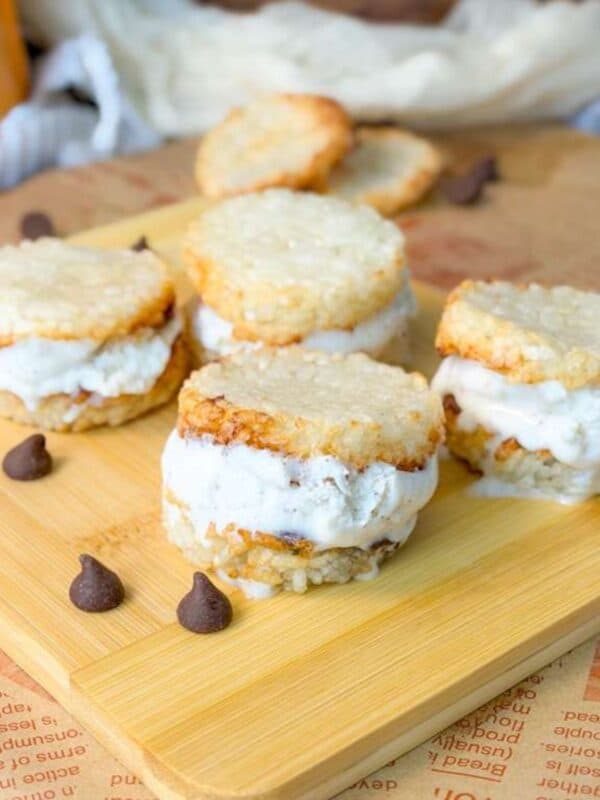
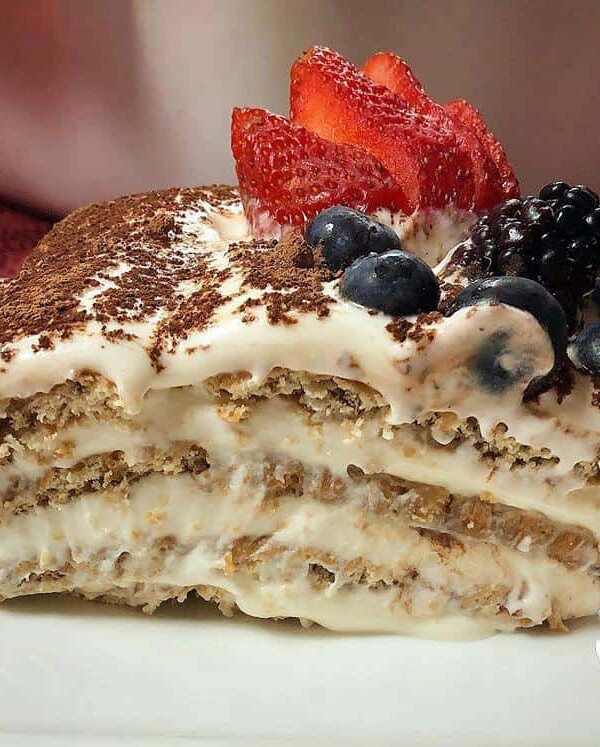
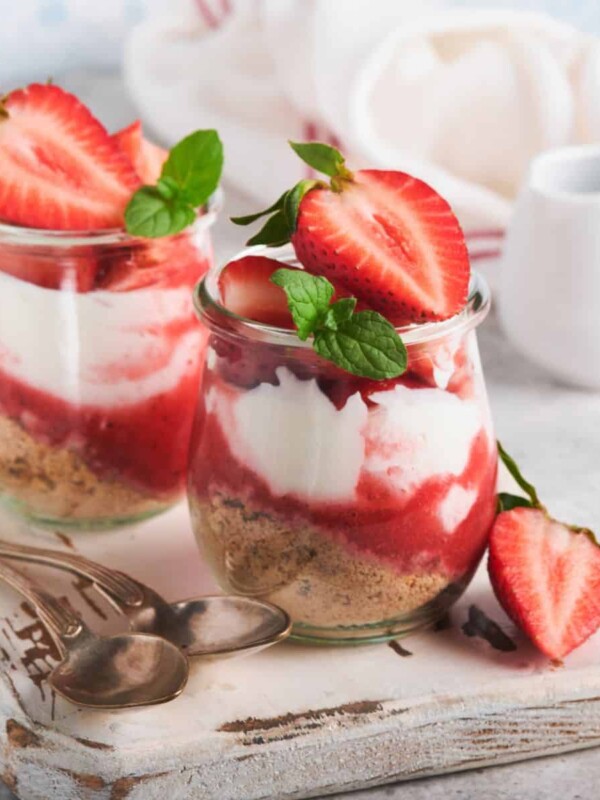
More No-Bake Desserts To Try
No-Bake Cheesecake
Ingredients
Crust
- 1½ cups graham cracker crumbs, about 8-9 graham crackers
- ¼ cup brown sugar, or honey ( I used honey)
- ½ cup unsalted butter, melted
Cheesecake Filling
- 16 oz. (2 blocks) full-fat cream cheese, room temperature
- 2 cups heavy whipping cream
- 1½ cups powdered sugar, honey
- 1 tablespoon fresh lemon juice
- ½ tablespoon vanilla extract
Instructions
Prepare the Crust
- In a bowl, mix graham cracker crumbs, brown sugar (or honey), and melted butter until well combined.
- Press the mixture firmly into the bottom and slightly up the sides of an 8 or 9-inch springform pan. Use a flat-bottomed cup to compact the crust.
- Freeze for 15 minutes while you make the filling. (If making ahead, cover and refrigerate for up to 3 days.)
Make the Cheesecake Filling
- In a large bowl, beat cream cheese and powdered sugar (or honey) with an electric mixer until smooth (1-2 minutes).
- Add heavy whipping cream, lemon juice, and vanilla. Beat for another 3 minutes on medium speed until the mixture thickens and forms stiff peaks.Note that I whipped both the cream cheese and the heavy whipping cream in one bowl. You can whip them in separate bowls, and then fold the heavy cream in with the whipped cream cheese for a fluffier cheesecake.
- Pour the filling into the prepared crust and smooth the top. Cover and refrigerate for at least 6 hours or overnight for best results.
Easy Jam Cheesecake Topping
- Heat 1 cup of jam in a small saucepan over medium heat. Stir occasionally.
- Thin it out with 1-2tablespoons of water or lemon juice for a tangy boost.Optional: Add 1 tablespoon of sugar if you prefer a sweeter topping.
- Strain (if needed) to remove fruit pieces for a smoother finish.
- Cool completely before spreading on the cheesecake.
- Chill the cheesecake for at least 1 hour after adding the topping to let it set.Tip: For a thicker topping, mix 1 teaspoon of cornstarch with 1 tablespoon of water and stir into the jam while heating.
Video
Notes
- Thicker Crust Hack: Add ½ cup more graham cracker crumbs and 3 tablespoons of butter to make a thicker, crunchier crust.
- Shortcut Crust Option: Don’t feel like making your own? A store-bought graham cracker crust works just as well.
- Use Alternative Pans: For a classic look, swap the springform pan with a pie dish. For individual portions, press the crust into muffin tins lined with cupcake liners.
- Chill Overnight: Give the cheesecake ample time to set (at least 6 hours, preferably overnight) for clean, neat slices.
- Clean Slices Every Time: Use a sharp knife and wipe it clean between each slice for neat, bakery-style presentation.