This post may contain affiliate links. Please read our disclosure policy.
Bid your late night supermarket crawls for ice cream farewell, because this No Churn Biscoff Ice Cream is a force to be reckoned with!
With a creamy Biscoff base, crushed Biscoff cookies, and drizzles of some creamy Biscoff cookie butter spread, this recipe is a definite win!
Allow yourself the ultimate taste sensation this summer! This No Churn Biscoff Ice Cream recipe is irresistibly good!
No Churn Biscoff Ice Cream

If you still haven’t had a Lotus Biscuit with your morning cup of coffee, then you are missing out big time!
The world-famous family-owned company has us hooked on its signature products infused with a swirl of cinnamon, ginger, nutmeg, allspice, and cloves; and this Biscoff ice cream is no different!
Food Therapy at its Best!

Is It Worth Trying?
There are a bunch of reasons why this recipe is worth all the hype! Here are a few!
Besides the fact that it is literary homemade (saving trips to the grocery store? YES PLEASE!), this recipe is no churn. This means this beauty is made without an ice cream machine or the egg/custard base.
With only 5 ingredients, this homemade no churn ice cream is quite affordable and presents the best option to beat the heat during these hot summer days.
Besides! The process is super easy, you will have fun creating magic with the kiddos! Make it a little fun activity! No heavy equipment, no worries!
My Favorite Dessert All-Year Round!

Here’s How to Serve Your Ice Cream!
Now although a perfectly good ice cream is best enjoyed all by its delicious self, here are a few sweet suggestions for a show-stopping power combo!
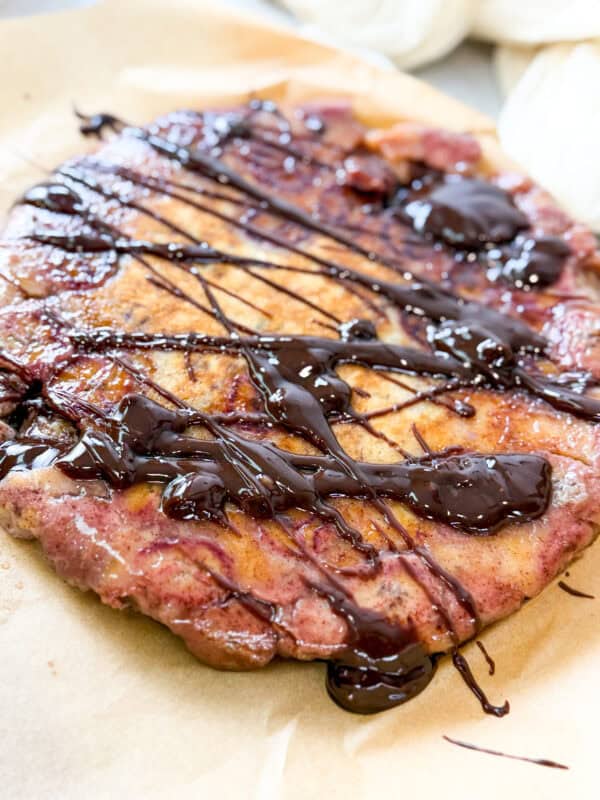
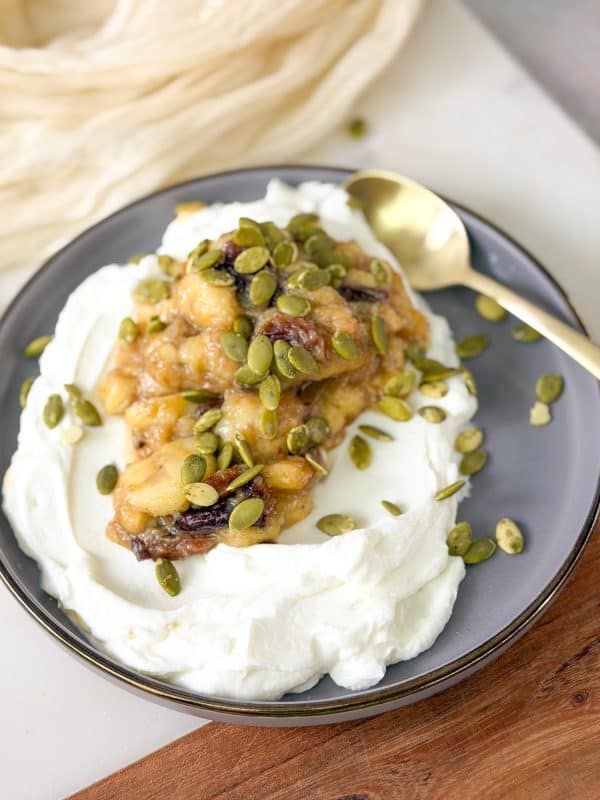
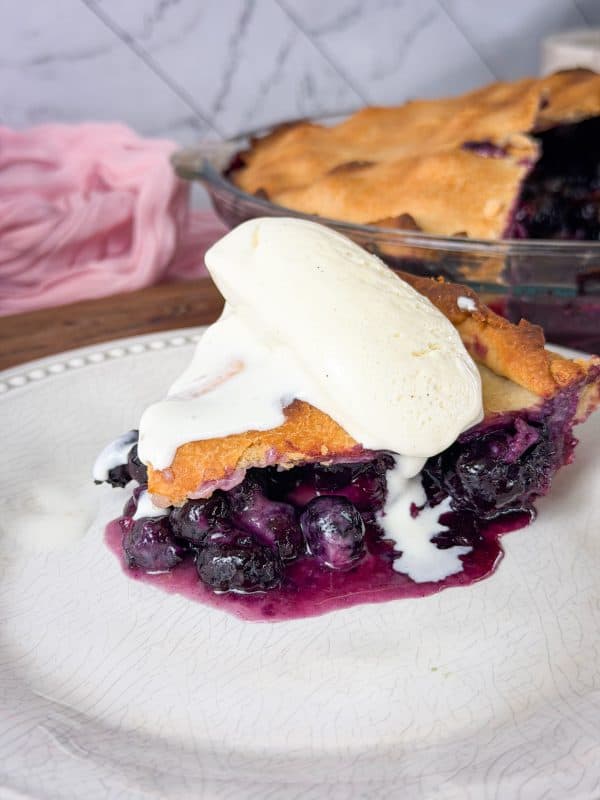
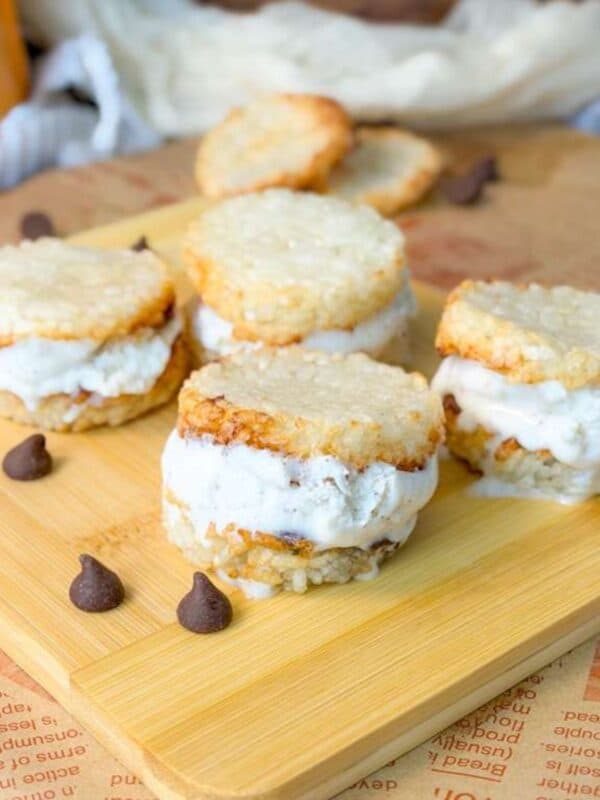
Take it from me guys! When it comes to sweet indulgences, it is always better to go all in! Satisfy your sweet tooth’s wildest dreams with one of the recipes from my wide collection of mouthwatering desserts!
Or you can quench your much appreciated thirst with a refreshing homemade drink! I have sweet, sour, and everything in between!
There is Always Some Room for Ice Cream!

Store Your Biscoff Delight for Days Ahead!
Although I am pretty sure you won’t find any leftovers to store! LOL! But just in case you decided to make extra batches for the kiddos, here’s how to store your No Churn Biscoff Ice Cream for days ahead!
Start by placing your ice cream in an freezer-friendly air-tight container. I would recommend using a flat container for an even presentation.
Then, cover your ice cream with a plastic wrap to avoid freezer burnt and store it in the back of the freezer. You wouldn’t want to ruin the texture with an inconsistent temperature.
You can now enjoy a tasty bite of your No Churn Biscoff Ice Cream for a month ahead!
Soft and Scoop-able!

Tips for a Perfect Biscoff Ice Cream!
Tip 1: To attain a fluffier consistency, I would definitely recommend using chilled cream.
Tip 2: Warm up your ice cream scoop before scooping to get perfectly shaped scoops. Dip it in hot water between scoops for consistent shapes.
Tip 3: If you prefer to add a bit of sweetness to the overall mild taste, then consider dropping brown sugar into the mixture. I heard it works wonders.
Creamy, Dreamy, and Delicious!

Frequently Asked Questions
Your cream forms stiff peaks and becomes lumpy if you over whip the cream. To fix this, fold in a bit of milk, whisking gently, to attain the desirable consistency.
Your ice cream should last you in the freezer for about a month. However, keep in mind that homemade ice cream’s lifespan is much shorter than those in supermarkets because of the lack of preservatives.
Sure you can! Swap the sweetened condensed milk with a healthier option such as the sweet of coconut. This one has a tropical flavor and is diary-free. Experiment and see if it works for you!
Indulge Your Appetite!

The Ingredients You Will Need
- heavy whipping cream
- sweetened condensed milk
- vanilla extract
- Biscoff cookie butter spread, crunchy or creamy
- biscoff cookies, crushed
Savor Every Mouthful!

Follow The Instructions
First, to a large bowl, add 1/2 pint heavy cream, 1/3 can sweetened condensed milk, and vanilla extract and blend on high speed until you have reached a whipped cream consistency (you don’t want stiff peaks).
Second, remove the lid off of the Biscoff cookie butter spread, crunchy or creamy (I used crunchy), then place in the microwave for 30 seconds, stirring halfway.
Next, slowly add the warm Biscoff spread into the whipped cream and fold in.
Then, place the cream into a glass Pyrex or loaf pan, crush 4 Biscoff cookies to sprinkle to top the cream, drizzle some warmed Biscoff spread, then be sure to cover completely.
Finally, place in the freezer for 4-8 hours. Remove from the freezer for 10 minutes before enjoying the best creamy Biscoff ice cream!
PIN IT!

Other Recipes You Might Like!
- Best Tres Leches Cake Recipe
- Homemade Peanut Butter Cups
- Brownie Baked Oatmeal (Gluten Free-Vegan)
- Viral Chocolate Rice Cake Bites With Peanut Butter
- Homemade Protein Jam Bars
- Healthy Oatmeal Date Bars
- Lebanese Date-Filled Ka’ik (Kaak)
- Warbat Bil Ashta (Shaabiyat)
- No Bake Nescafe Cake
- Easy Cream Cheese Frosting
No Churn Biscoff Ice Cream
Ingredients
- ½ pint heavy whipping cream
- ⅓ can sweetened condensed milk
- 1 teaspoon vanilla extract
- ⅓ cup Biscoff cookie butter spread, crunchy or creamy
- 4 Biscoff cookies , crushed
Instructions
- To a large bowl, add 1/2 pint heavy cream, 1/3 can sweetened condensed milk, and vanilla extract and blend on high speed until you have reached a whipped cream consistency (you don’t want stiff peaks).
- Remove the lid off of the Biscoff cookie butter spread, crunchy or creamy (I used crunchy) then place in the microwave for 30 seconds, stirring halfway.
- Slowly add the warm Biscoff spread into the whipped cream and fold in.
- Place the cream into a glass Pyrex or loaf pan, crush 4 Biscoff cookies to sprinkle to top the cream, drizzle some warmed Biscoff spread, then be sure to cover completely.
- Place in the freezer for 4-8 hours. Remove from the freezer for 10 minutes before enjoying a creamy Biscoff ice cream.
Video
Notes
- To attain a fluffier consistency, then I would definitely recommend using chilled cream.
- Warm up your ice cream scoop before scooping to get perfectly shaped scoops. Dip it in hot water between scoops for consistent shapes.
- If you prefer to add a bit of sweetness to the overall mild taste, then consider dropping brown sugar into the mixture. I heard it works wonders.

This is probably the best use of Biscoff! SO good! Will def be making it again
Such a quick and amazing dessert. We loved it so much