This post may contain affiliate links. Please read our disclosure policy.
This blog post is dedicated to low-effort, low-cost, all-natural recipes, and this Easy 2-Ingredient Ricotta Cheese is this week’s talk of the town!
With only 2 simple ingredients like milk and lime juice, you are setting yourself up on a date with something cheesy, creamy, and utterly delicious!
The easiest homemade cheese recipe is now within your reach, and all is fair in love and cheese! Let the cooking begin!
Easy 2-Ingredient Ricotta Cheese

It is a universal agreement that homemade goods hit different than store-bought ones. Kind of like homemade pasta is always better than store bought packages. And this ricotta recipe is no different!
A simple process, with the use of 2 ingredients, will leave you enjoying this divinely creamy, tangy, and delicious Italian delicacy with almost endless uses!
And as far as needed materials, you only need a pot (or a saucepan), a slotted spoon, a coriander, and a bowl! Easy enough!
Uses of Fresh Ricotta Cheese
One of the many reasons why store-bought versions are runner-ups next to a homemade fresh ricotta cheese recipe, would definitely be the various uses! Here’s some inspiration on how you can put your own cheese to good use!
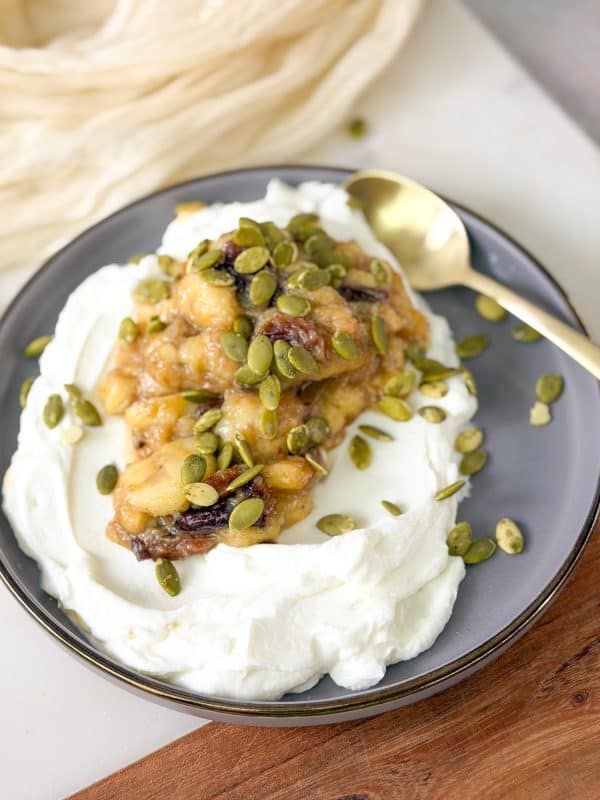
Whole milk ricotta cheese works perfectly with pasta dishes and lasagna. It can also work as a topping for pizzas (alongside other toppings), or next to a bowl of some fresh fruits like peaches, grapes, and sliced oranges.
In addition, use it as a heavenly spreadable cheese over breakfast toast with a drizzle of honey or syrup, or with herbs and olive oil. Make your own ricotta toast!
Finally, and besides it being a refreshing addition to a summer salad (in place of mozzarella), use this homemade ricotta cheese recipe in sweets like cheesecakes, mug cakes, and tarts.
Added Bonus? The Leftover Whey!
Hold up! Before you disregard the leftover whey, consider using it in place of water in baked goods like bread or pizza dough.
I bet you didn’t see this one coming! LOL!
But seriously…So good!
How to Store Your Own Ricotta Cheese
To Store: This recipe can be consumed right away, or your can store leftover ricotta in an airtight container (plastic containers) in the fridge for 3-4 days.
To Freeze: Freeze your creamy cheese in an airtight container in the freezer for up to 2 months. However, before doing that, there are a few things to keep in mind.
Freezing will most likely change the texture of the ricotta cheese since the moisture within the cheese will turn to ice. When you thaw, you will notice that the cheese is dry and crumbly, while the container is watery.
To thaw: Thaw frozen ricotta in the fridge (not at room temperature) for about 6 hours. However, make sure you continuously stir the cheese while it thaws, or blend it back to life, then drain the excess moisture. Do not re-freeze.
Ridiculously Simple to Make!

Tips for Perfect Results
Tip 1: Keep in mind that the longer you strain, the drier the ricotta you’ll end up with. You can strain anywhere from 15 to 60 minutes. A firmer ricotta means more straining time; looser ricotta calls for less. The definition of the right consistency is completely up to you in this recipe.
Tip 2: As a source of acidity for the curds to form, white vinegar makes a good substitute for lemon juice. Some might add 1 tsp of salt (or more).
Tip 3: The lemon juice’s importance lies in the acidity. So if your milk does not curdle properly, add more lemon juice. Oh! Don’t use Meyer lemons since they are sweet and won’t possess the level of acidity needed.
Tip 4: Wrap the drained ricotta in a cheesecloth, and place it beneath a weighted plate in the refrigerator overnight to make a ricotta salata or other fresh farmer’s cheese.
Frequently Asked Questions
Ricotta literally means “recooked”. The name derived from the fact that original ricotta is made from leftover whey of cheese production.
I suggest using whole milk for this recipe (but 2% can also work). Avoid using skim, non-fat (or low-fat milk), and UHT (ultra-pasteurized milk) milk. These types either haven’t been properly treated or don’t have enough fat to separate into curds. Organic milks may work as well.
If you don’t have a kitchen thermometer, then here’s what you should do. Basically, you need to heat the milk until you notice a lot of steam coming out, little bubbles forming on the edge of the pot, and a thin film appearing over the milk.
The Ingredients You Will Need
- milk
- lemon juice
Follow The Instructions
First, open out your paper towel and line the colander with a double layer, covering all sides of the colander. Set that over a deep large bowl for draining, and set aside.
Second, pour your milk mixture into a pot and set on medium heat. Let it heat slowly, until it’s just about to boil.
Add in your lemon juice, and almost immediately you will see small curds form.
Next, keep it on the heat, and let the curds fully form. Don’t stir it much (a gentle stir), just check to see if the curds have fully separated from the whey (this won’t take long, just a minute or so).
Then, take it off the heat. With a spoon (or a wooden spoon) gently skim the curds out and into your lined strainer.
Finally, after a few minutes, gently press to release more water. The more you drain the cheese the firmer it will become. I like it soft so I just gently squeeze the excess moisture.
PIN IT!

Other Delicious Recipes for You
- Homemade Delicious Creamy Yogurt Kefir
- No Churn Biscoff Ice Cream
- Creamy Vegan Rice Pudding (Dairy & Gluten Free)
- Béchamel Pasta Bake (Macarona Béchamel)
- Easy Cream Cheese Frosting
- Easy Knafeh With Mozzarella Cheese
- Taco Mac & Cheese
- 2 Ingredient Caramel Macchiato Whipped Cream
- Chicken and Potato Béchamel Bake
- Pecan And Cranberry Cheeseball Tray

Easy 2-Ingredient Ricotta cheese
Ingredients
- 2 cups full fat milk, or low fat
- 2 Tablespoons lemon juice
Instructions
- Open out your paper towel and line the colander with a double layer, covering all sides of the colander. Set that over a deep large bowl for draining, and set aside.
- Pour your milk into a pot and set on medium heat. Let it heat slowly, until it's just about to boil.
- Add in your lemon juice, and almost immediately you will see small curds form.
- Keep it on the heat, and let the curds fully form. Don't stir it much, just check to see if the curds have fully separated from the whey (this won't take long, just a minute or so).
- Take it off the heat. With a spoon gently skim the curds out and into your lined strainer.
- After a few minutes, gently press to release more water. The more you drain the cheese the firmer it will become. I like it soft so I just gently squeeze the excess moisture.
Notes
- Keep in mind that the longer you strain, the drier the ricotta you’ll end up with. You can strain anywhere from 15 to 60 minutes. A firmer ricotta means more straining time, looser ricotta calls for less. The definition of the right consistency is completely up to you in this recipe.
- As a source of acidity for the curds to form, white vinegar makes a good substitute for lemon juice. Some might add 1 tsp of salt (or more).
- The lemon juice’s importance lies in the acidity. So if your milk does not curdle properly, add more lemon juice. Oh! Don’t use Meyer lemons since they are sweet and won’t possess the level of acidity needed.
- Wrap the drained ricotta in a cheesecloth, and place it beneath a weighted plate in the refrigerator overnight to make a ricotta Salata or other fresh farmer’s cheese.