This post may contain affiliate links. Please read our disclosure policy.
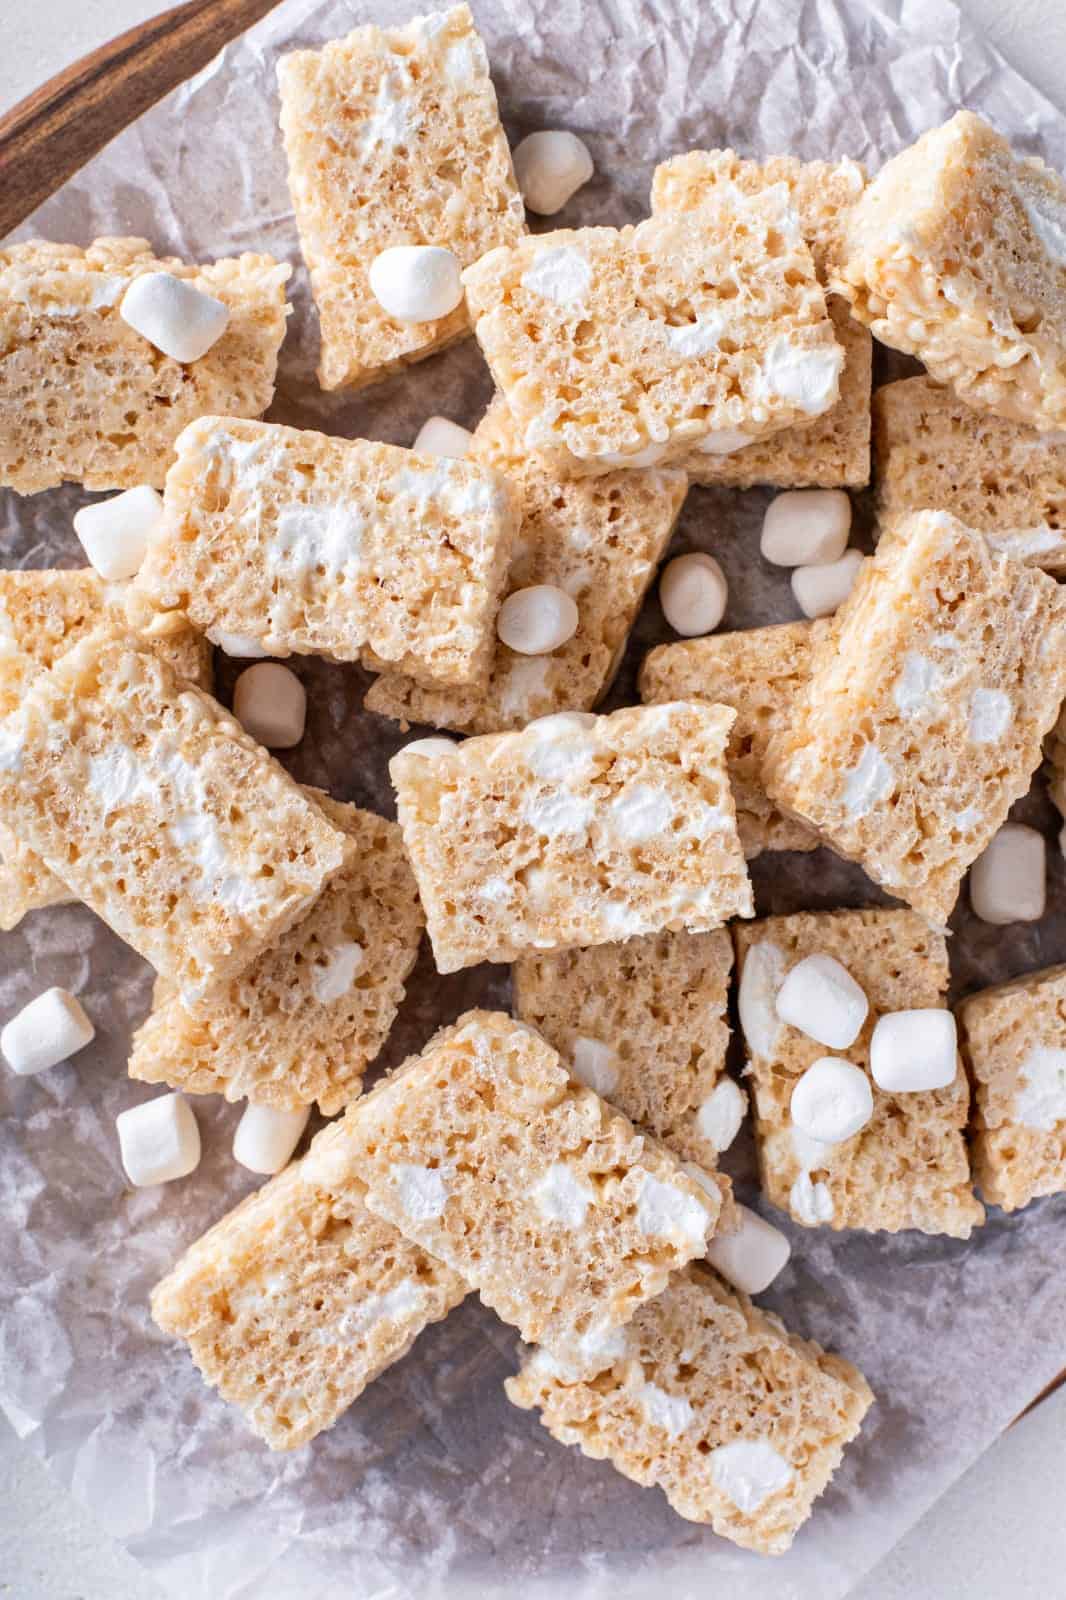
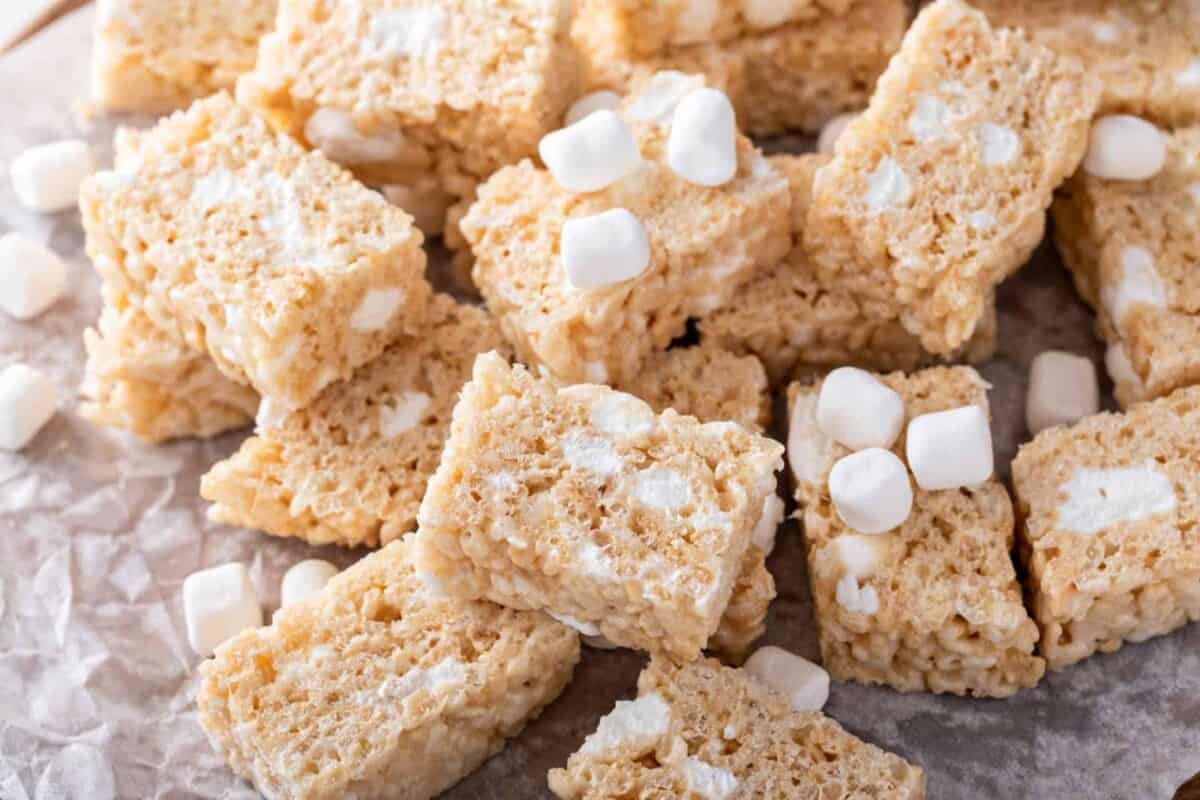
These Easy Homemade Rice Krispie Treats are soft, chewy, buttery, and perfectly crispy, with gooey melted marshmallows in every bite. Made with just a handful of simple ingredients, this no-bake dessert comes together in minutes and requires no oven.
Whether you’re making them for a birthday party, school snack, potluck, holiday gathering, or an easy treat at home, these homemade Rice Krispie Treats are always a crowd-pleaser. They’re sweet, chewy, and incredibly easy to make; and once you make them at home, you’ll want to keep this simple recipe on repeat!
Healthy Homemade Dessert

Rice Krispie Treats are one of my kids’ favorite snacks, and I have to admit, I love them too! While they can sometimes be a bit tricky to make, I’ve been using this method for a long time, and it has never let me down. It’s easier than the stovetop method, and the treats turn out even better—perfectly soft and chewy every time.
If you’re a fan of no-bake desserts, you must try my Lazy Cake (No Bake Chocolate Biscuit Cake), No Bake Chocolate Covered Coconut Biscuit Date Balls, No-Bake Strawberry Pudding Parfaits, and No-Bake Chocolate Mousse.
Table of Contents
What Are No-Bake Rice Krispie Treats?
No-Bake Rice Krispie Treats are one of those classic desserts that are incredibly easy to make and always a hit. They combine crispy rice cereal with melted marshmallows and butter to create a soft, chewy, and perfectly crispy treat—without turning on the oven.
This simple recipe comes together in just a few minutes, making it perfect when you need a quick dessert or an easy snack for the family. A little vanilla adds extra flavor, while the buttery marshmallow mixture gives the cereal that irresistible chewy texture.
You can also have fun with these treats by adding your favorite toppings or mix-ins. Try melted chocolate, peanut butter, sprinkles, chocolate chips, or even a drizzle of Nutella.
Whether you’re making them for a birthday party, school snack, family gathering, or simply because you’re craving something sweet, these homemade Rice Krispie Treats are an easy, nostalgic dessert that both kids and adults will love.
Crunchy Rice Krispie Treats
Why You’ll Love This Recipe
Quick and Easy: These Rice Krispie Treats come together in just a few simple steps with minimal ingredients and no baking required. They’re perfect when you want a homemade dessert without spending a lot of time in the kitchen.
Perfect for Sharing: These treats are great for parties, lunchboxes, school snacks, family gatherings, or an easy afternoon treat. Kids and adults love their crispy, chewy texture and sweet marshmallow flavor.
Simple and Affordable: Made with just a handful of simple ingredients, these Rice Krispie Treats are an affordable dessert that you can easily make at home.
Deliciously Chewy: Every bite is crispy, buttery, and chewy with a hint of vanilla. They’re simple, nostalgic, and always a crowd-pleaser!
No-Bake Rice Krispie Treats Ingredients
Rice Krispie Cereal: Gives these treats their signature light, crispy texture and delicious crunch.
Marshmallows: Melt together with the butter to create the soft, chewy, gooey texture that holds the cereal together.
Butter: Adds richness and a smooth, buttery flavor while helping create that irresistible chewy texture.
Vanilla: Enhances the overall flavor and adds a subtle, sweet aroma to the treats.You can check the recipe card for more instructions.
Ultra Delicious Rice Krispie Treats
Variations and Substitutions
Chocolate: For a chocolate twist, drizzle melted chocolate or Nutella over the finished Rice Krispie Treats. You can also dip the bottoms in melted chocolate and let them set before serving.
Fruity: For a fun fruity variation, use Fruity Pebbles instead of regular Rice Krispies. You can also mix in freeze-dried strawberries for a fruity flavor and a pop of color.
Chocolate Cereal: Swap the regular Rice Krispies for Cocoa Krispies for a chocolatey version. You can also drizzle the finished treats with melted chocolate for even more chocolate flavor.
Brown Butter: For a richer, nuttier flavor, brown the butter before adding the marshmallows. The browned butter adds a delicious caramel-like flavor that takes these treats to the next level.
Peanut Butter: Add a drizzle of melted peanut butter over the finished treats, or swirl peanut butter into the melted marshmallow mixture for a delicious peanut butter variation.
Frequently Asked Questions (FAQs)
Regular, unfilled mini marshmallows work best for Rice Krispie Treats because they melt evenly and create a smooth, chewy mixture.
Yes. For longer storage, wrap the treats tightly in plastic wrap or place them in an airtight container and refrigerate for up to 1 week. Keep in mind that refrigeration can make them firmer, so let them come to room temperature before serving.
How should I store Rice Krispie Treats?
Store Rice Krispie Treats in an airtight container at room temperature for up to 3 days. For the best soft and chewy texture, enjoy them within the first couple of days.
Storage Tips
Storage: Store Rice Krispie Treats in an airtight container at room temperature for up to 3 days. For the best soft and chewy texture, enjoy them within the first couple of days.
Refrigeration: If you need to store them longer, wrap the treats tightly in plastic wrap or place them in an airtight container and refrigerate for up to 1 week. Keep in mind that refrigeration can make them firmer, so let them come to room temperature before serving.
Pro Tip
For perfectly dense and chewy Rice Krispie Treats, gently press the mixture firmly enough to hold its shape, but avoid packing it down too tightly.
Tips for the Best Rice Krispie Treats
Use regular mini marshmallows: Regular, unfilled mini marshmallows work best for this recipe and melt evenly.
Don’t overheat the marshmallows: Whether you’re using the microwave or stovetop, heat the marshmallows just until melted and smooth. Overheating them can result in harder treats once they cool.
Don’t press too firmly: When transferring the mixture to the pan, gently press it into an even layer. Pressing too hard can make the treats dense and hard instead of soft and chewy.
Let them cool at room temperature: Allow the Rice Krispie Treats to cool and set at room temperature for about 30–45 minutes. There’s no need to freeze them, and refrigerating them can make them firmer than you’d like.
Make cutting easier: Once the treats have cooled and set, use a sharp knife to cut them into squares. Lightly butter the knife if the marshmallow mixture is sticking.
For extra gooey treats: Don’t overcook the marshmallow mixture, and avoid packing the cereal too tightly into the pan. These two little steps make a big difference in keeping your treats soft and chewy.
Other Tasty Desserts You Should Try:
- Best Ramadan Appetizer and Dessert Ideas
- 5 Desserts Best Served with Ice Cream
- No Bake Pumpkin Lasagna Dessert
- Gluten-free Chocolate Chip Cookies
- No Bake Chocolate Covered Coconut Biscuit Date Balls
- Gluten-Free Oatmeal Cookies
- No Bake Marshmallow Crunch Cookies
- Viral Chocolate Rice Cake Bites with Peanut Butter
- Gluten-Free Almond Flour Banana Cake
- Easy Christmas Butter Cookies

No-Bake Rice Krispie Treats
Ingredients
- 5 cups Mini Marshmallows
- ¼ cup Unsalted butter
- 5 cups Rice Krispie cereal
- 1 teaspoon Vanilla extract
- ¼ teaspoon Salt
Instructions
- Prepare the pan: Lightly grease an 8×8-inch or 9×9-inch baking pan with butter or cooking spray. Set aside.
- Melt the butter: Add the butter to a large microwave-safe bowl and microwave for about 20–30 seconds, until melted.
- Melt the marshmallows: Add the mini marshmallows to the melted butter. Microwave in 20–30 second intervals, stirring well after each interval, until the marshmallows are just melted and smooth. Be careful not to overheat them.
- Add the flavor: Immediately stir in the vanilla extract and salt until combined.
- Add the cereal: Pour the Rice Krispies cereal into the marshmallow mixture. Gently fold with a buttered spatula until all of the cereal is evenly coated. Don't overmix.
- Transfer to the pan: Pour the mixture into the prepared pan. Lightly grease your hands or a piece of parchment paper with butter and gently press the mixture into an even layer. Don't press too firmly, or your treats can become hard and dense.
- Let them set: Allow the treats to cool at room temperature for about 30–45 minutes, or until set.
- Cut and serve: Once set, cut into squares or bars with a sharp knife and enjoy!
Notes
Tips for Perfect Rice Krispie Treats
- Use regular mini marshmallows: Plain, unfilled mini marshmallows work best. Flavored marshmallows can change the taste and texture, so I recommend sticking with regular marshmallows.
- Don’t overheat the marshmallows: Whether you’re using the microwave or stovetop, heat them just until melted and smooth. Overheating can make the treats hard once they cool.
- Don’t press too firmly: Gently press the mixture into the pan. Packing it down too tightly is one of the easiest ways to end up with dense, hard Rice Krispie treats.
- Let them cool at room temperature: There’s no need to refrigerate or freeze them. Let them set at room temperature for about 30–45 minutes for the best chewy texture.
- Grease your hands or spatula: A little butter or cooking spray makes pressing the sticky mixture into the pan much easier.
- Cut after they set: Once the treats have cooled and firmed up, use a sharp knife to cut them into squares.
- For extra-gooey treats: You can reserve a handful of mini marshmallows and fold them in right before adding the cereal for little pockets of marshmallow throughout.